Hosting a TiddlyWiki Site on AWS - Part III
Jul 8, 2022
8 mins read
In Part I and Part II of this post we created AWS infrastructure required for hosting a TiddlyWiki website and added a custom domain name. The instructions are applicable to any other static site whether a blog, personal website, portfolio or a picture gallery.
In this part we are installing and configuring local tools to simplify upload of the content to the website and synchronization between local and remote TiddlyWiki. This would require the following steps:
-
Creation of AWS Identity and Access Management (IAM) role for updating the S3 bucket,
-
Installation of AWS CLI, and
-
Writing two short scripts for uploading and downloading the site content.
IAM Role
We used the “root” user in Parts I and II and will continue using this account for all operations in the AWS console described below. This user has full access to all AWS resources. In accordance with good security practices we will create a new user with access limited to only the site bucket. The AWS IAM service responsible for user and access configuration is called IAM (Identity and Access Management) and this is what we will be using next.
There are two things that we need to create. First, we are going to define a “policy”, a document that defines what operations are allowed on what resources. Then, we create a new user and attach this policy to the user. This is the way AWS decides who can perform what operations on which resources.
Creating a Policy
To create a new policy:
-
Navigate to the policies tab of the AWS IAM console and log in as root;

-
Click “Create policy” and change from “Visual editor” to “JSON” tab:

-
Paste the following code:
{
  "Version": "2012-10-17",
  "Statement": [
    {
      "Action": [
        "s3:PutObject",
        "s3:GetObject",
        "s3:ListBucket",
        "s3:DeleteObject"
      ],
      "Resource": ["arn:aws:s3:::<bucket-name>", "arn:aws:s3:::<bucketname>/*"],
      "Effect": "Allow"
    }
  ]
}
replacing <bucket-name> with the name of the bucket we created in Part I. The policy code is self-explanatory. In the “Action” list we allowed four operations required to read, write, list and delete an object (file) in the bucket. The resource list specifies the top level bucket and any directories contained in it. The “Effect” says that we want these operations allowed. Alternatively, we could have denied all other operations, but that would be much longer list.
-
Click “Next: Tags”.
-
We won’t be using tags so click “Next: Review”.
-
On the review page enter policy name (I used “tiddlywiki-bucket-access”) and, optionally, provide some description as shown below:
 Click “Create Policy”.
 -
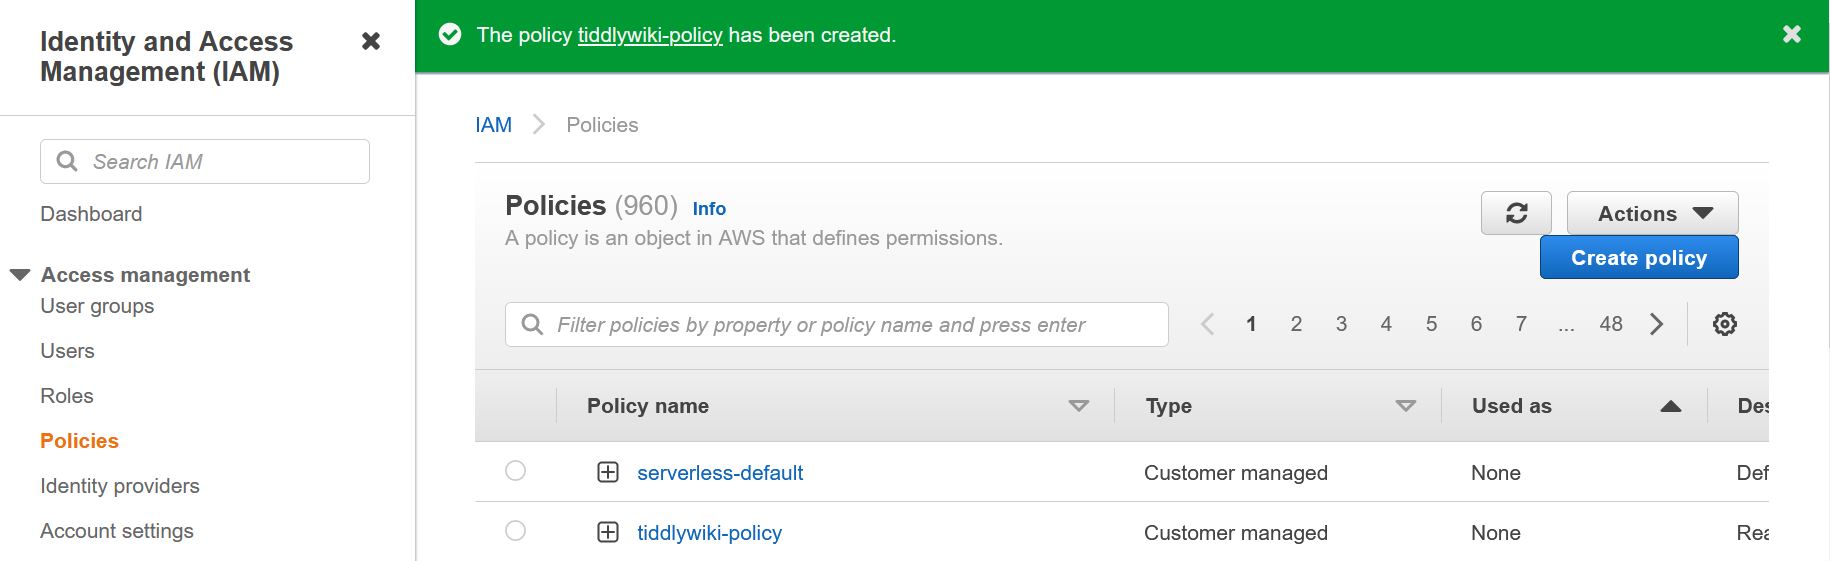
We should now see a green banner informing us that the policy has been successfully created.
Creating a New User
To create a new user:
-
Navigate to the Users tab.
-
Click “Add Users”

-
Type “tiddlywiki” for the name of the user and check “Access key - Programmatic access” for AWS Security type. We need the user to be able to upload and download the bucket content using the AWS Command Line Interface tool (Programmatic Access) and disable logging into the AWS web console (Password Login).
 Click “Next: Permissions”
 -
Select “Attach existing policies directly” and start typing the policy name (“tiddlywiki-bucket-access”) in the “Filter box”.

-
Check the box next to our policy and click “Next: Tags”
-
Tags will not be used so click “Next: Review”
-
Your review page should look like this:
 . Click “Create user”.
 -
Success! The user has been created and a pair of Access key ID and Secret access key generated.
 Click the “Download .csv” button and save the file in your “Downloads” directory and as “tiddlywiki_credentials.csv”. Don’t close this page yet, we’ll need the keys shortly.
We are almost there. Now we need to install and configure AWS Command Line Interface tool and create two one-liner scripts to call it.
Install AWS Command Line Interface
AWS CLI is a small program that allows the user to perform most operations available from the web console by typing commands in the terminal (called “Command Prompt” on Windows). For example, this command:
aws s3 ls s3://tiddlywiki.kosobrodov.net
lists the content of my tiddlywiki S3 bucket.
The instructions for downloading and installing AWS CLI are here. The process is straightforward. Once installed, open your terminal (“Command Prompt” or Powershell if you are on Windows) and run
aws --version
You should see an output with aws-cli and Python versions, your operating system and CPU architecture.
Configure AWS CLI
Now we need to configure CLI and provide it with the Access key ID and Secret access key for the TiddlyWiki user so that it can assume this user’s role and get access to the site bucket. If you are on Windows open the command prompt and type the following commands:
cd %USERPROFILE%\Downloads
On Linux and macOS, open the terminal and change directory to your Downloads, for example:
cd ~/Downloads
Now run the AWS CLI configure command to save the user credentials:
aws configure import --csv file://tiddlywiki_credentials.csv
Note that you need to prepend the CSV file name with “file://”, otherwise you’ll get an error message complaining about a missing “User Name” header.
Let’s check that everything is working and list the content of our website bucket:
aws s3 ls s3://<bucket-name> --profile tiddlywiki
remember to replace the --profile tiddlywiki instructing the tool to use the credentials for the user tiddlywiki. The user name is defined in the CSV file that we downloaded. If you used a different user name, modify the command accordingly.
Congratulations, the AWS CLI is configured. Next, we are going to create two scripts to upload and download the bucket content.
Handy scripts
AWS CLI includes the s3 sync command for synchronizing the content of a local directory with a S3 bucket. It can be used in both directions: updating the website with a new content and synchronizing your local TiddlyWiki. The latter is convenient if you edit your TiddlyWiki file on multiple platforms.
The scripts are the same for Windows and macOS/Linux. On Windows you can use Notepad or a similar text editor to edit the script files, which need to be saved with _.bat extensions. On other platforms you create a Bash script file, conventionally with _.sh extension. Additionally, permissions to execute the files need to be provided.
Uploading Updates
Create a new file with a text editor of choice and add the following code:
aws s3 sync . s3://<bucket-name> --exclude "index.html_backup/*" --exclude "*.bat" --delete --profile tiddlywiki
for Windows, or
aws s3 sync . s3://<bucket-name> --exclude "index.html_backup/*" --exclude "*.sh" --delete --profile tiddlywiki
for other operating systems.
Replace --exclude parameter. The second instance of this parameter prevents the script files from being uploaded. The --delete flag instructs the command to remove any files in the destination S3 bucket that are not present in the local folder. The --profile tiddlywiki part should look familiar now.
Save the file as push.bat (or push.sh) in the directory containing your TiddlyWiki index.html. On macOS and Linux you need to provide permission to execute the script by running the following command:
chmod +x push.sh
Pulling a New Version from the Website
This is only required if you work on several platforms and need to synchronize your TiddlyWiki. The command is similar, except the source and destination are swapped:
aws s3 sync s3://<bucket-name> . --profile tiddlywiki
Note that we are not using the --delete flag here as we want to keep the scrip files and the backup directory in our local folder.
Save this file as pull.bat (or pull.sh) and remember to provide execution permissions if required.
Using the Scripts
When working on multiple platforms you start your edit with running the pull script to bring your local content up to date with the S3 bucket. After completing your updates run the push script to upload the files to the bucket.
Wrapping Up
We completed two important house-keeping tasks: improved the security of our AWS infrastructure by creating a user with the minimal access permissions, and created two scripts for synchronizing the local TiddlyWiki with the hosted version.
In the next post we will take our infrastructure a few steps further and create a secure production-ready website.