Hosting a TiddlyWiki Site on AWS - Part I
Jul 8, 2022
6 mins read
This is Part I of the series of posts on hosting static websites with Amazon Web Services.
In this post I am going to walk you through the steps required to host your own TiddlyWiki website on Amazon Web Services. You don’t need to have any previous experience with AWS or install special software. We’ll get your site up and running in less than 20 minutes using just the browser.
The instructions described here are equally applicable to any static website: a blog, picture gallery, personal page or a portfolio. I decided to use TiddlyWiki as an example, and this is why.
TiddlyWiki
TiddlyWiki is the best tool for organising knowledge I used so far. It is very versatile and can be used for nearly anything from academic research to cooking recipes, photography journals or gardening notes. It has a very clever design and a nice user-friendly interface. Jeremy Ruston released the first version of TiddlyWiki in 2004. The project it has been in continuous development since then.
How TiddlyWiki works
TiddlyWiki is browser application that modifies its own code and produces a single HTML file that contains your data, the search engine and the code. The easiest way to use it is to download a standalone application available for major desktop operating systems.
It works perfectly well as a local wiki. If you decide to share your TiddlyWiki you will need a way to host it. For obvious reasons you want to provide read-only access to the web resource. If you are collaborating with other authors you can use a version control system like git to organise your reviewing and publishing process.
Three Options for Hosting with AWS
I came up with the following three options for hosting your website:
-
S3 bucket with default URL;
-
S3 bucket with your own domain name; and
-
Production-quality infrastructure with your own secure domain and worldwide distribution. The complexity of deployment and the operation costs increase accordingly.
If you require secure connection to your website jump straight to Part IV.
How Much Does It Cost?
With AWS you pay for what you use. If you have a small audience with several hundred visitors per day and a normal-size website you might get away with paying several dollars a month. Your domain name registration would normally add several dollars per month unless you choose to register a sucks or movie domain name which cost significantly more.
Prerequisites
You need an active AWS account. Creating one is fast and straightforward. When creating an account a so-called “root” user is also created that has full access to all AWS resources. It is safe to use this account for all operations described below as they are performed from the AWS web console.
For options (2) and (3) you also need a registered domain name. We’ll discuss domain registration in Part II of this post.
Option One - Website S3 bucket
In this configuration we are going to use S3 bucket to host the website at http://<your-bucket-name>.s3-website-<your-region>.amazonaws.com/.
-
Login to your AWS S3 console at https://console.aws.amazon.com/s3/.
-
Click Create Bucket.
-
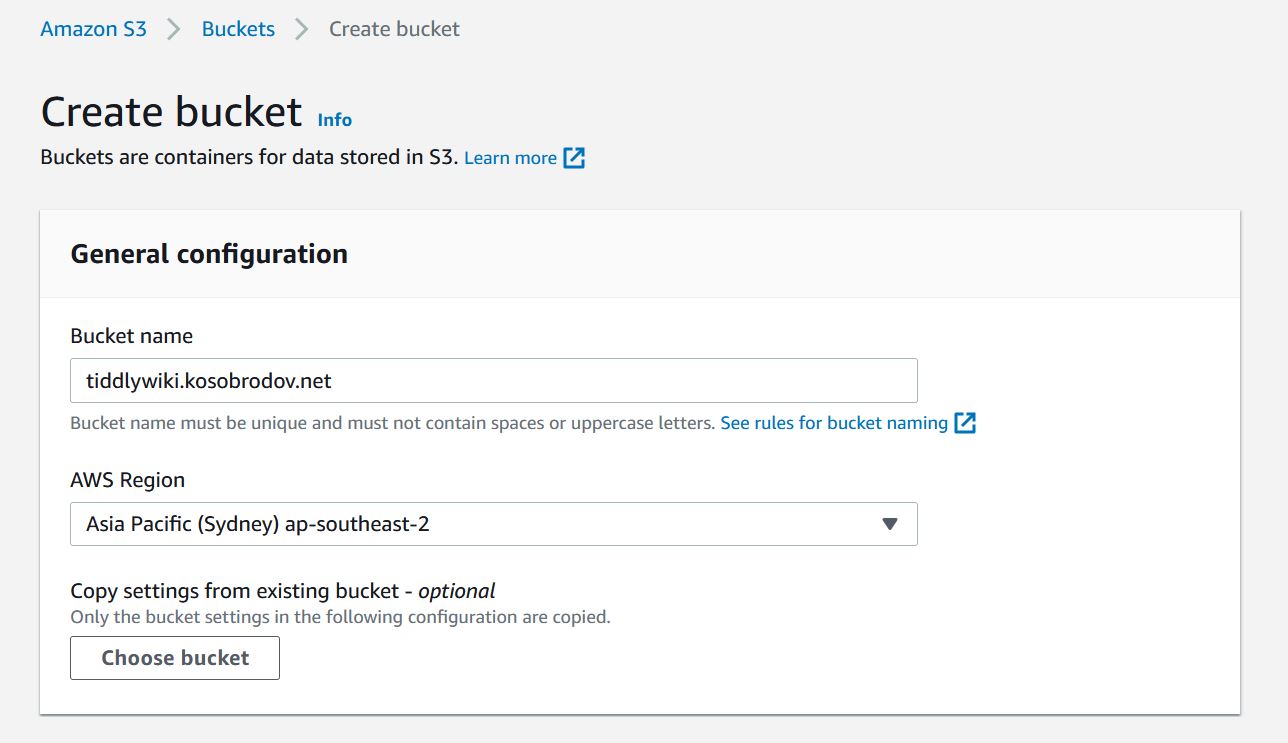
Specify the name for your bucket. It has to be unique. It is not possible to change the bucket name after it is created, you’ll have to delete and recreate it if you make a mistake. If you plan to use your own domain name to host the bucket, the bucket name must be your domain name. In this example I plan to host the site at
tiddlywiki.kosobrodov.net, so named the buckettiddlywiki.kosobrodov.net. -
Choose the region you are in, chances are your site visitors are from the same region.
-
Allow public access by unchecking the “Block all public access” box. Put a tick against “I acknowledge that the current settings might result in this bucket and the objects within becoming public”.
Scroll down and click “Create bucket”. We should now see the bucket in our list.
-
Click on your new bucket and go to the “Properties” tab. Scroll all the way down to “Static website hosting” and click “Edit”.
-
Enable the website and type “index.html” as default page.
Click “Save changes”.
-
We are now back at the properties page and can see the URL of our new website. If we try to open this link we will be greeted with Error 403 - Forbidden.
-
Let’s now enable read-only access to the bucket. Go to the Permissions tab, scroll down to “Bucket policy” and click “Edit”. Copy the snippet of the code below and enter it in the Policy box. Make sure you don’t have any spaces before ‘{’.
{
  "Id": "Policy1657260334803",
  "Version": "2012-10-17",
  "Statement": [
    {
      "Sid": "allow public read-only access",
      "Action": ["s3:GetObject"],
      "Effect": "Allow",
      "Resource": "<your-bucket-ARN>/_",
      "Principal": "_"
    }
  ]
}
-
Copy the bucket ARN (Amazon Resource Number) from above the policy box and replace “
” on line 9 with the copied value. Make sure you have “/*” at the end of the ARN string. When ready click “Save changes”.
-
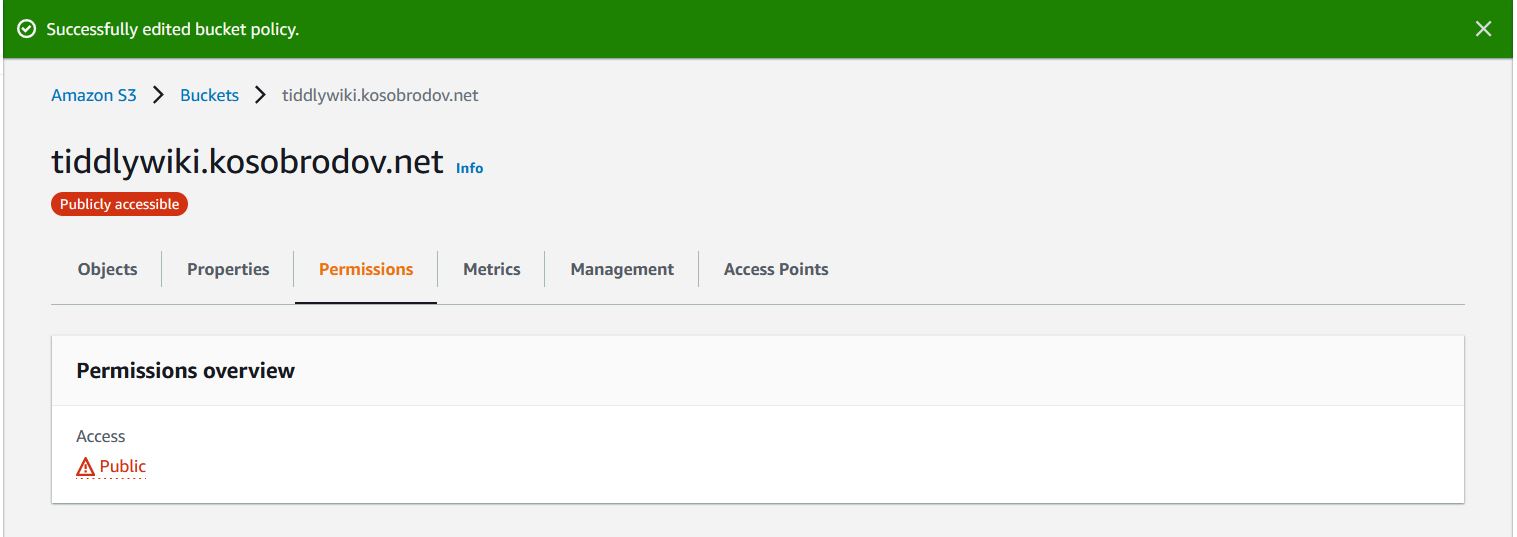
You should see the following screen with a banner warning that the bucket in now publicly available.
Congratulations! We have successfully configured our hosting infrastructure. If you visit the website URL you should see the “404 - Not Found” error. This is expected as we have not uploaded anything to the bucket yet.
Uploading Content
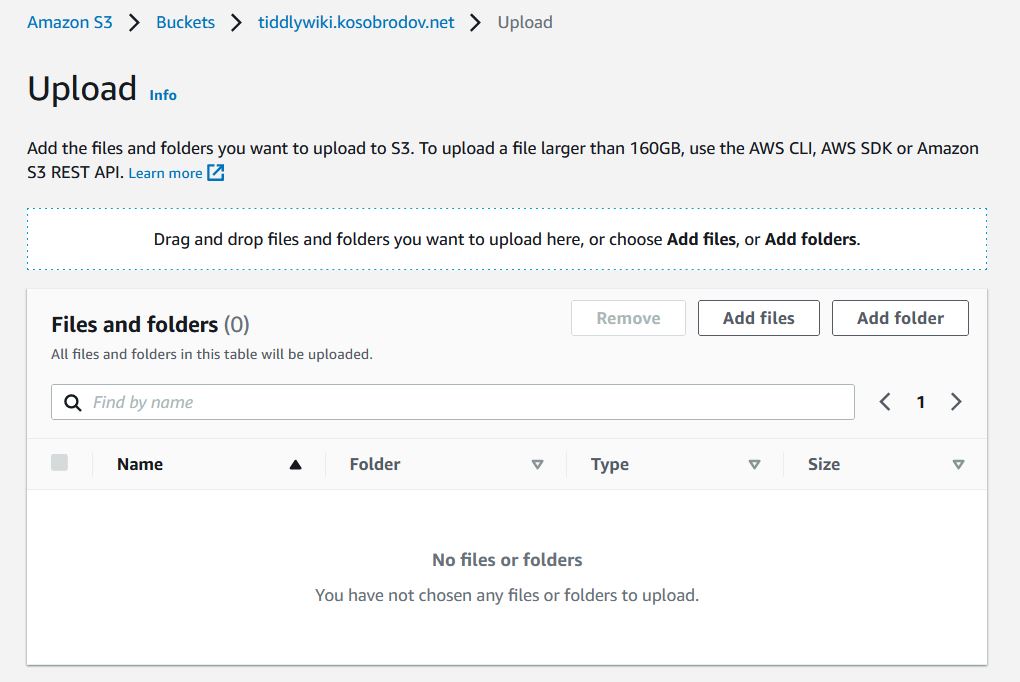
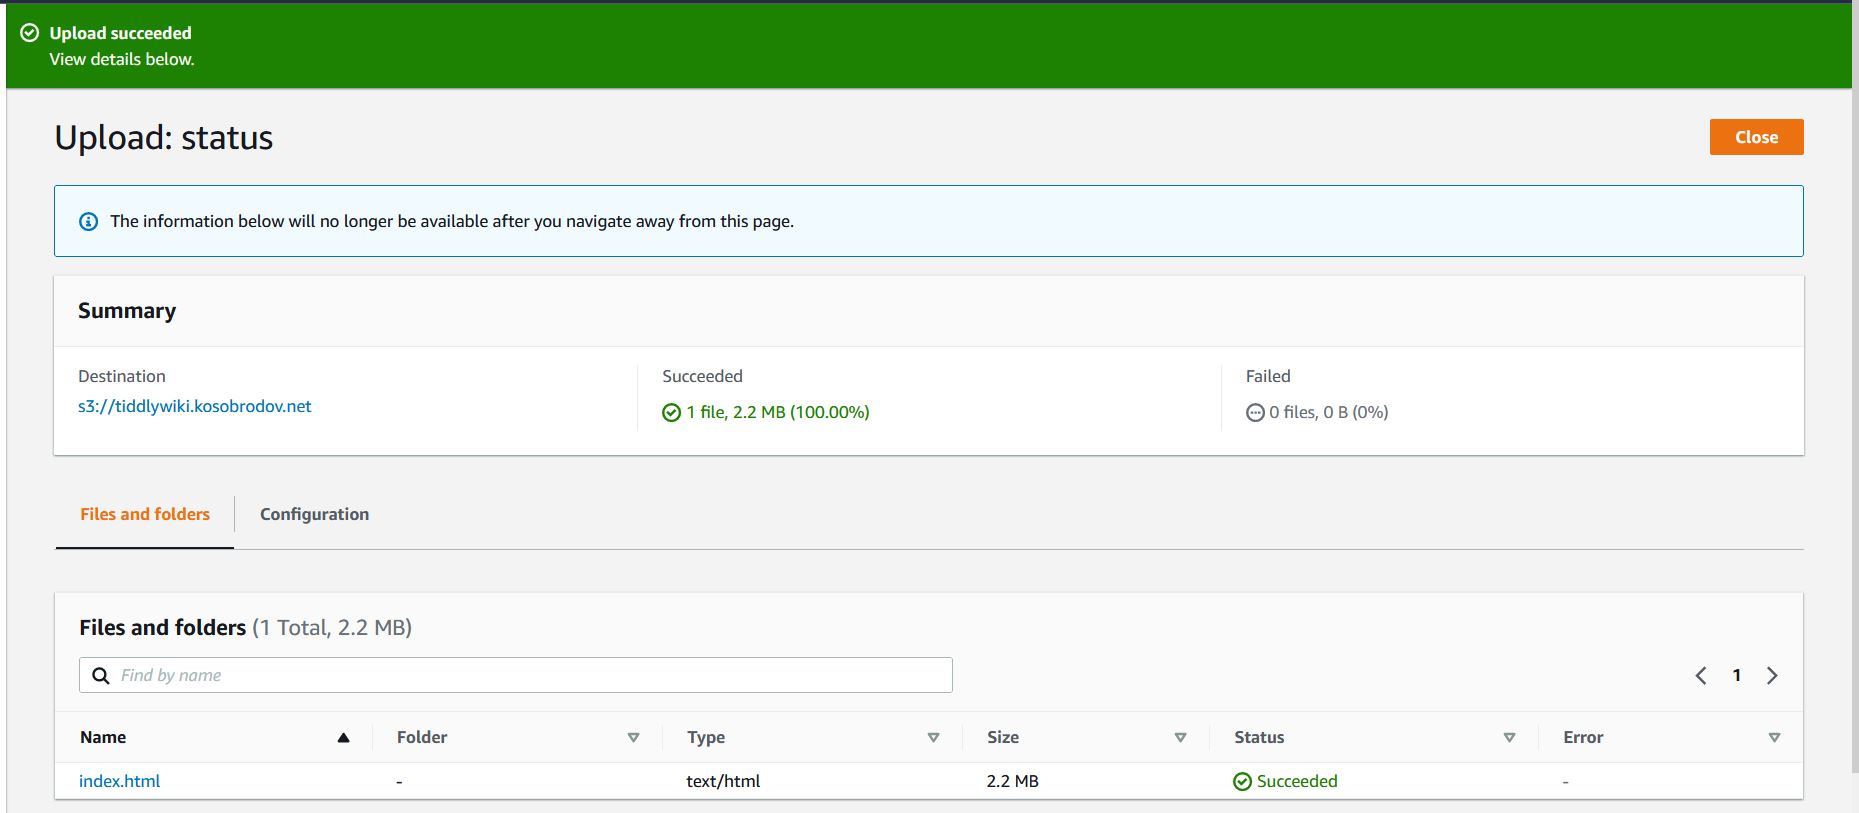
To upload the website into the bucket go to the Objects tab of your AWS S3 bucket console, click the “Upload” button, click “Add files”. 
Visit the site URL and check that your wiki page is rendered properly.
Next Steps
Depending on your requirements and the way you use TiddlyWiki this setup might be sufficient. If you don’t update your website very often you can continue using the S3 console to manually upload the “index.html” file to the bucket. It is likely though that you would want to use your own domain name instead of a long and hard-to-remember URL provided by AWS. In the next part we are going to add a custom domain name. In Part III of the series we will add some tools to simplify uploading and synchronizing the content of your site.
Acknowledgements
John Finch, a Scottish photographer and author created a series of video tutorials on using TiddlyWiki for keeping a photographic journal. Thank you, John, for sharing your knowledge and inspiring me to start using this wonderful tool!


